Sibell Basic System Configuration
We here at Sibell like to talk about usability, one of the features that helps set Sibell apart is the Sibell Basic system configuration, which utilizes the Sibell Setup Wizard.
Step 1: Click the Setup Wizard
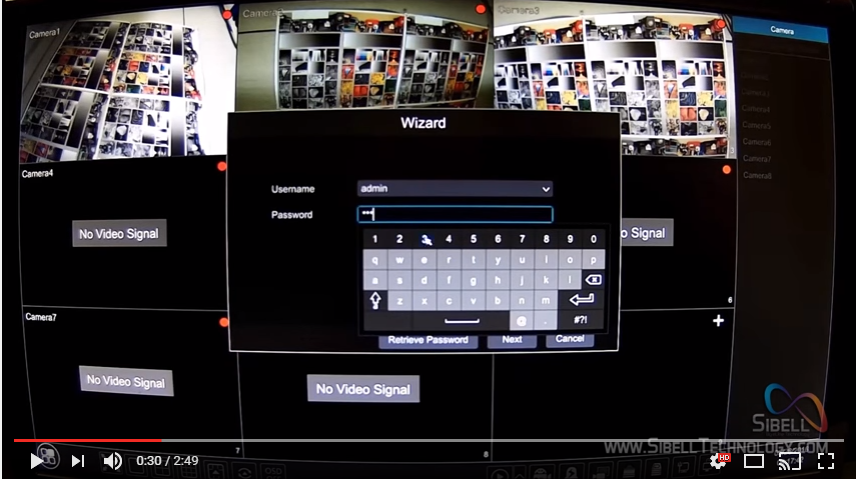
Step2:
Utilizing the Sibell Setup Wizard go ahead and log into the system the default username is admin and the default password 123456 and although, it seems easy to leave these at default, I encourage you to change the defaults to a unique username and password. Once you have chosen a unique user name and password, please record the username, password and/or the email address associated to the account and store that information in secure location. Make sure the username and password are easy to remember and that those in charge of the system have access to that information. Changing the default username and password keeps your network and security system secure from unwanted access.

Step 3:
Set the system to obtain an IP address and DNS automatically by checking the two check boxes. Setting it to obtain automatically verifies a connection to the network. It is recommended to set a STATIC IP address and gateway once the system has identified the network configuration.
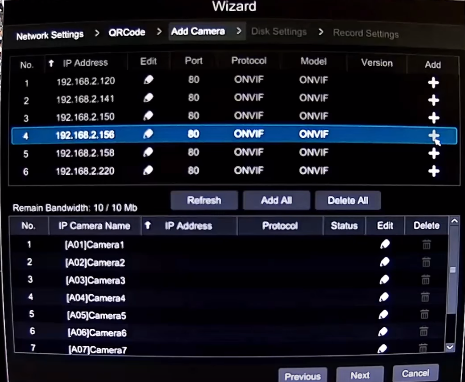
Step 4:
Add IP Cameras. Sibell will scan that network automatically for any available IP devices including ONVIF devices as long and the network cable is attached and the unit is connected to the network.
Click the “+” to add a camera
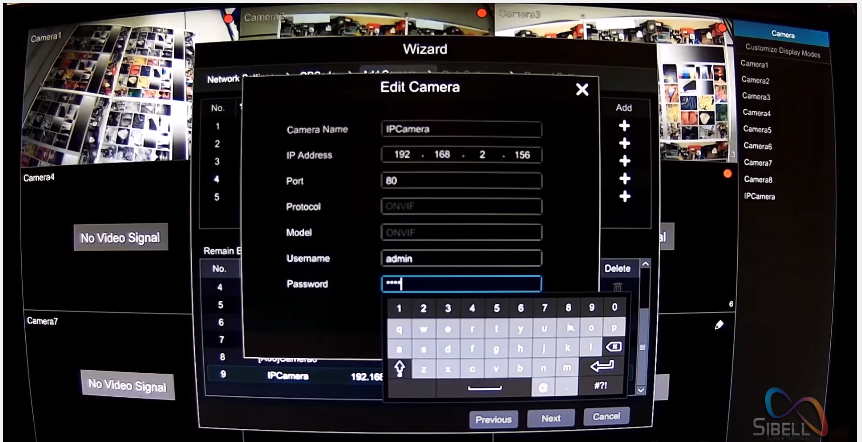
For ONVIF devices: Click the pencil icon to edit, change the IP address, port, username and password to the camera’s default settings.
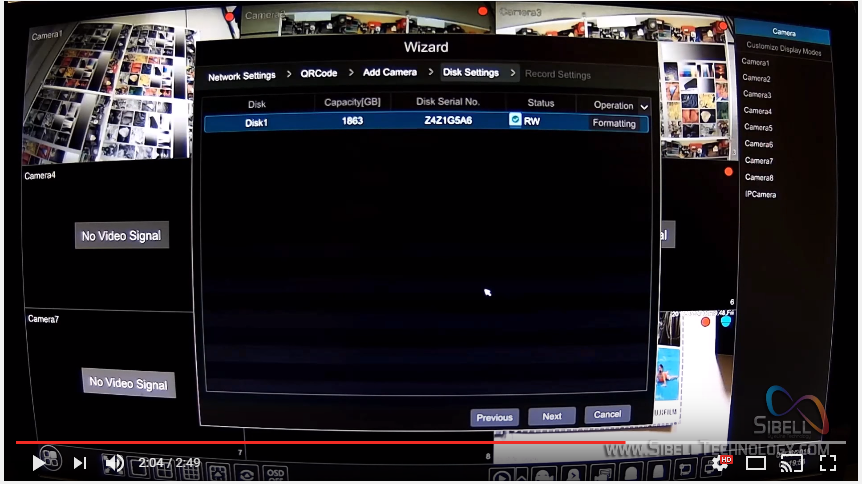
Step 5:
Configuring the Hard Drive Settings, click on the formatting button to format the hard drive.
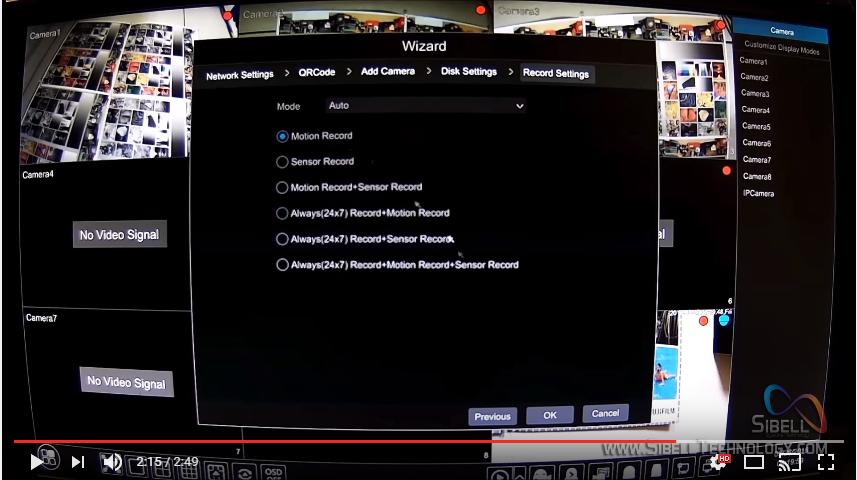
Step 6:
Select Motion Record. Please not that ONVIF devices may need to configured manually for motion detection by logging into the camera thur the cameras browser interface
Step 7:
Verify that the system is recording. The red recording indicator dot will light for actively recording to the hard drive. The Yellow running man indicator means the system is detecting Motion.
The Initial setup wizard is then complete you can click the “Start” button on the bottom left to access all system setter then after.
QR Code and NAT server Setup:
Sibell has the ability it interact with Sibell Mobile for quick QR code setup. To enable this feature you must Enable the NAT Server.
- Go to Settings
- Select Network
- Select NAT
Then to view the QR code go
- Settings
- System
- Information
- Basic
There you will be able to scan the QR Code from The Sibell Mobile app for quick Setup on your Mobile device

Submit a comment